Improve your range of motion with these shoulder mobility exercises.
The shoulders are incredibly mobile joints. As a result, they can often become painful and problematic if you have weakness or inflexibility in this body region.
As you get older, this can lead to disability and difficulty completing daily tasks. Therefore, you should do everything you can to keep your shoulders healthy as you age (1).
In this article, we will review some of the best exercises for maintaining strength, mobility, and flexibility in the shoulders.
You’ll also like:
Want to Age Well? Bulletproof Hips and Shoulders With These Mobility Exercises
10 Best Shoulder Mobility Exercises
Below, I’ll provide you with some of the best exercises for shoulder health.
Before diving into this exercise routine, be sure to take at least 5 minutes and warm up thoroughly. Your warm-up can include marching in place, performing some standing trunk twists, or doing some light jumping jacks.
Then, once you’ve got the blood pumping throughout your body, you’ll go through each of these exercises, in order, and complete them each as described.
If you have severe shoulder pain or other issues that require the oversight of a qualified professional, consider seeking an evaluation from a physical therapist or physician before trying this program out.
Add these shoulder mobility exercises to your workout routine.
1. Side-Lying T Rotations
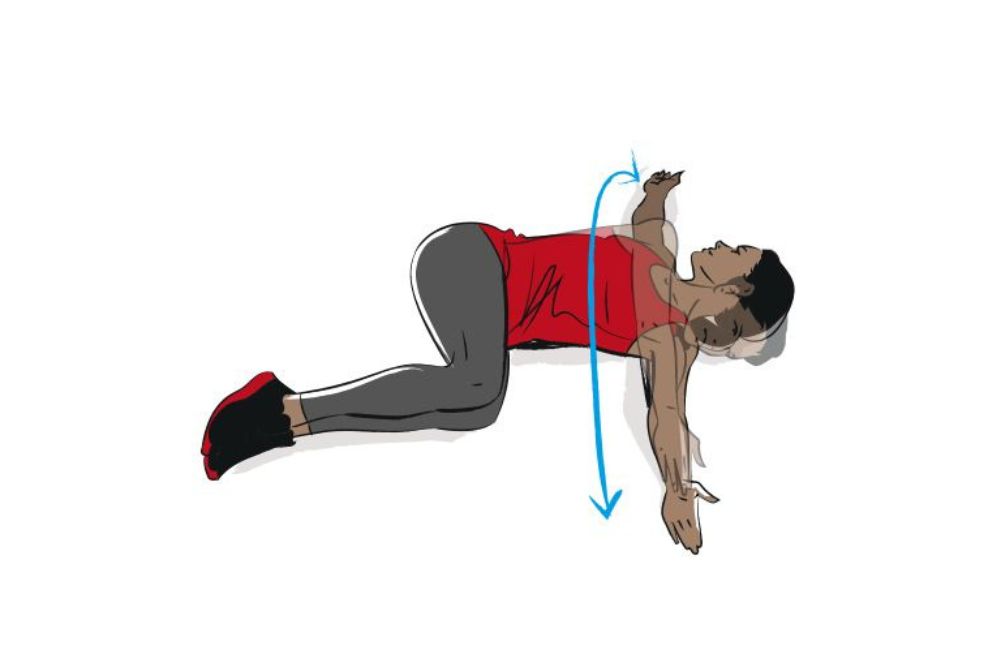
This is one of my favorite shoulder mobility exercises for increasing mobility in your thoracic spine and shoulders (2).
By performing this move daily, you’ll slowly increase your ability to reach behind you, and you’ll address many causes of tightness and discomfort in the front of your shoulders.
How to Perform:
- Start by lying on your right side, in the fetal position.
- Next, reach your left hand toward the ceiling and rotate your body to the left.
- Keeping your legs in the starting position, attempt to rotate far enough to rest your left hand on the ground.
- At this point, your arms should be in a “T” position.
- Hold this position for 2 minutes, then switch sides. Perform this move once per day.
2. Double Kneeling Thoracic Openers
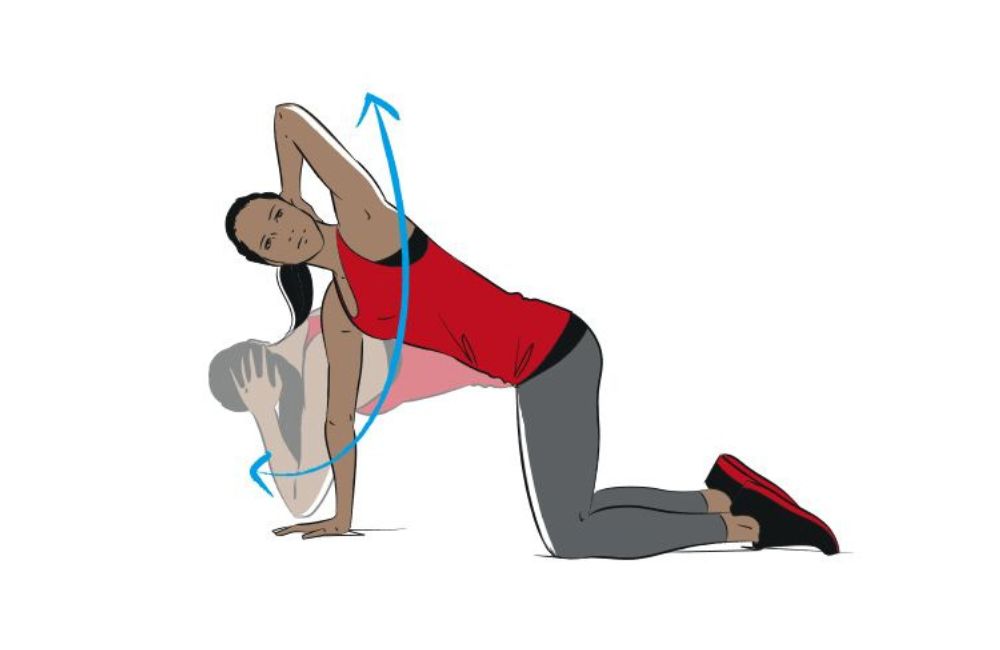
Much like the previous mobility exercise, this stretch is great for opening up the chest, shoulders, and mid-back.
How to Perform:
- Start with both knees and both hands on the ground.
- Next, place your left hand on your head, with your elbow bent.
- Keeping your right hand on the ground, rotate toward your left, attempting to point your left elbow toward the ceiling.
- Once you’ve reached the end of your range of motion, rotate back to the right so that your elbow is pointed toward the ground again.
- Repeat 10 times on each side, once per day.
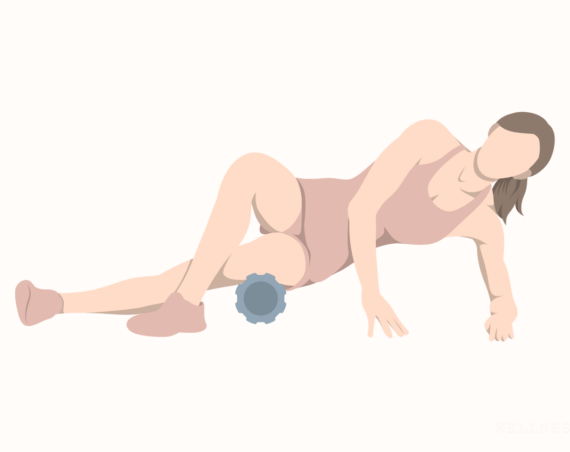
3. Foam Roller Thoracic Spine Release
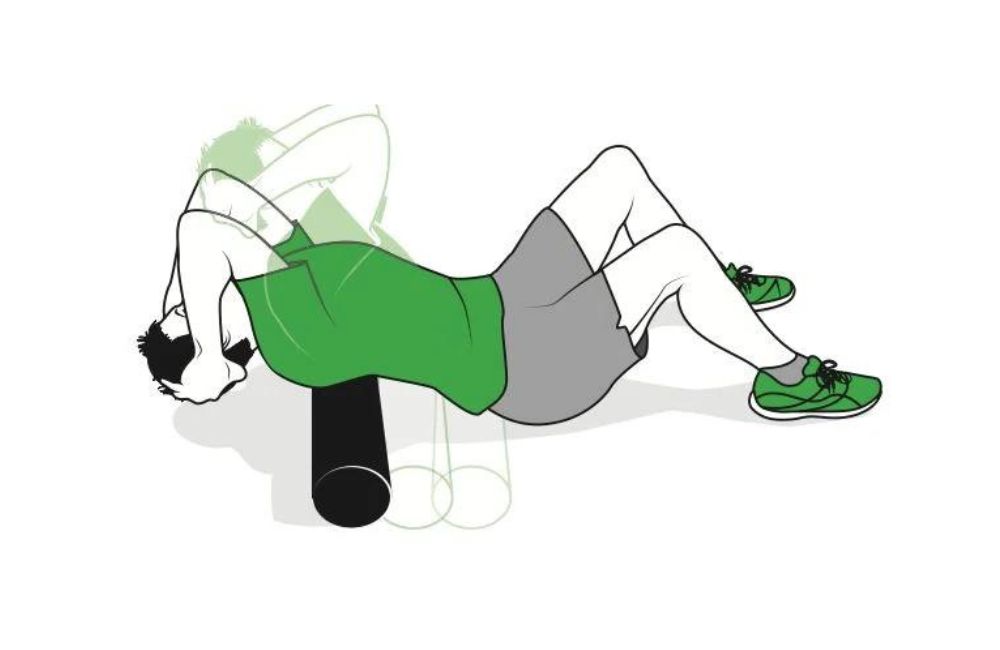
Most people really enjoy this “exercise”. Truthfully, all you have to do to complete this stretch is lean back and relax!
How to Perform:
- Place a foam roller on the ground and sit down in front of it.
- Next, place your hands behind your head and lean back so that the foam roller is positioned on your upper back.
- Lean back over the foam roller as far as you can comfortably.
- If you want to add a bit of a massage component, you can use your legs to slowly glide your body up and down across the foam roller.
- Hold this position for 2 minutes or longer, and perform this movement every day.
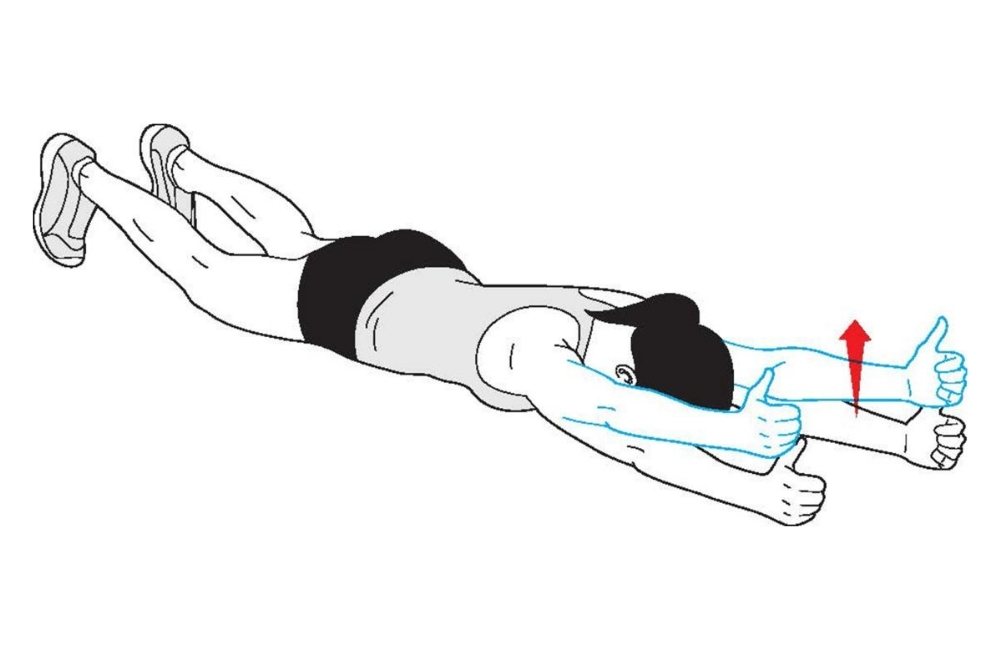
4. Prone Y’s
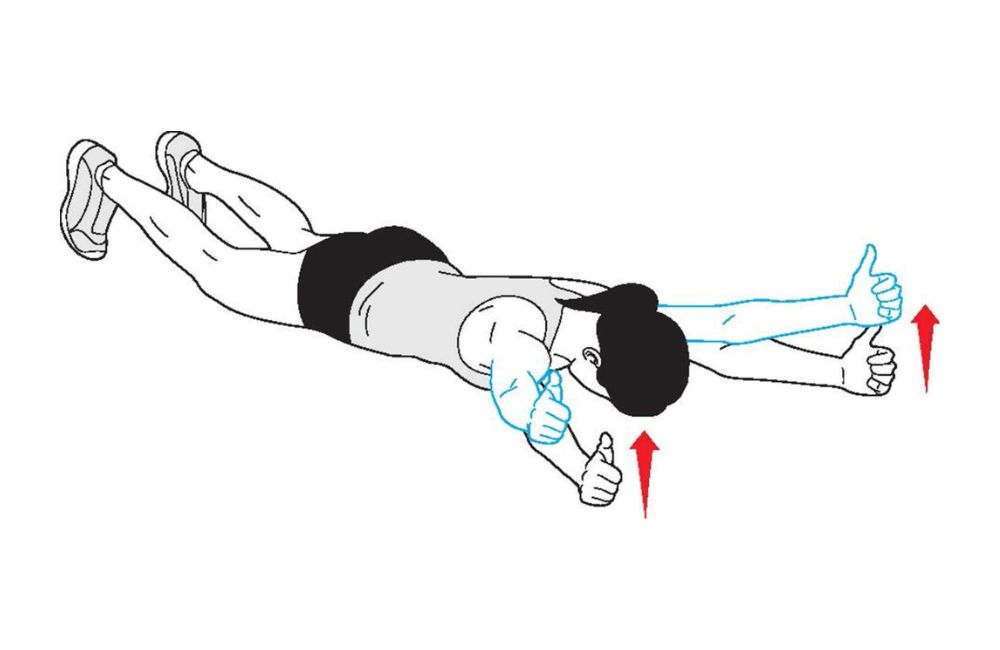
The next few exercises in this series are terrific for rotator cuff and trap strength. These movements improve the stability of the shoulders significantly.
How to Perform:
- Lie on your stomach with your arms straight out in front of you, over your head.
- Next, lift your arms up toward the ceiling, making your body into a “Y” shape.
- Hold this contraction for one second, then return your arms to the ground.
- Repeat for 10 reps, 3 sets, and perform this exercise 2-3 times per week.
5. Prone T’s
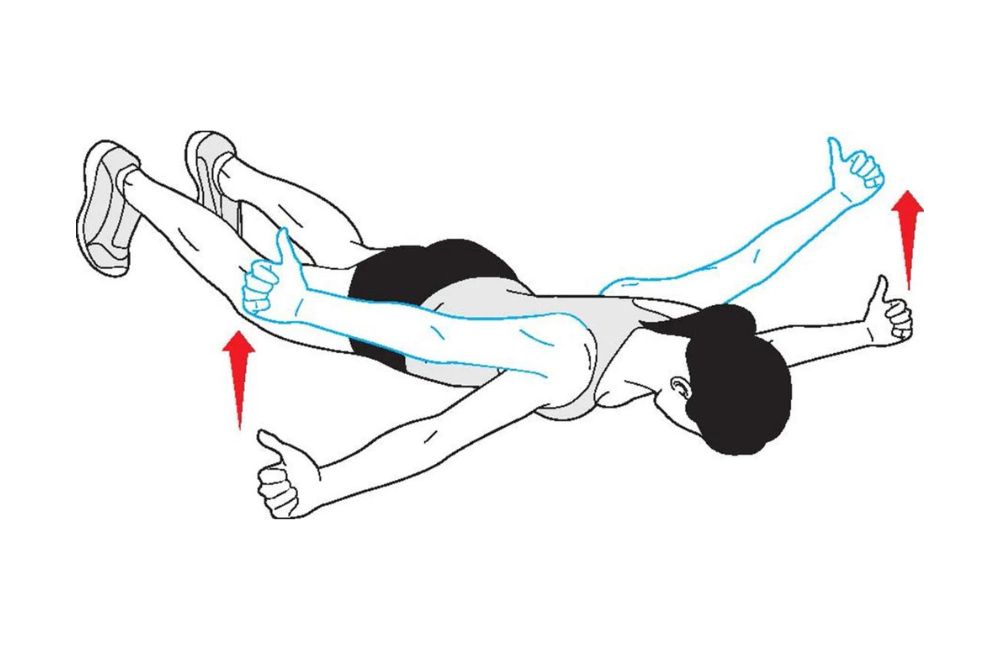
Similarly to the previous exercise, the prone T works the rotator cuff and the mid-traps and the rhomboids.
How to Perform:
- Start by lying on your stomach, with your arms stretched out to the sides.
- Lift your hands up to the ceiling, keeping your elbows straight.
- At this point, your body should be in a “T” shape.
- Hold this contraction for a second then return your arms to the ground.
- Repeat for 10 reps, 3 sets, and perform this exercise 2-3 times per week.
6. Prone I’s
Here we have yet another “letter” exercise. Each of these moves puts particular stress through specific portions of the upper back and shoulders, leading to strength and stability that is hard to achieve with any other movements.
How to Perform:
- Lie on your stomach, with your arms extended straight up above your head.
- This is a similar position to the “Y” exercise. However, your arms will be slightly more narrowly spaced, with your biceps close to your ears.
- Lift your arms up off of the ground, toward the ceiling.
- Hold this position for one second, then return your arms to the ground.
- Repeat for 10 reps, 3 sets, 2-3 times per week.
7. Prone W’s
This is the last of our alphabet exercises, and it’s a doozy! W’s are particularly tough, as they require a significant amount of mobility in the shoulders and upper back.
How to Perform
- Lie on your stomach, with your hands by your ears and your elbows bent.
- Next, lift your hands, elbows, and arms off of the ground, toward the ceiling.
- Hold this position for one second, then return your arms to the ground.
- Repeat for 10 reps per set, 3 sets per session, and 2-3 sessions per week.
8. Standing Horizontal Abduction with Band
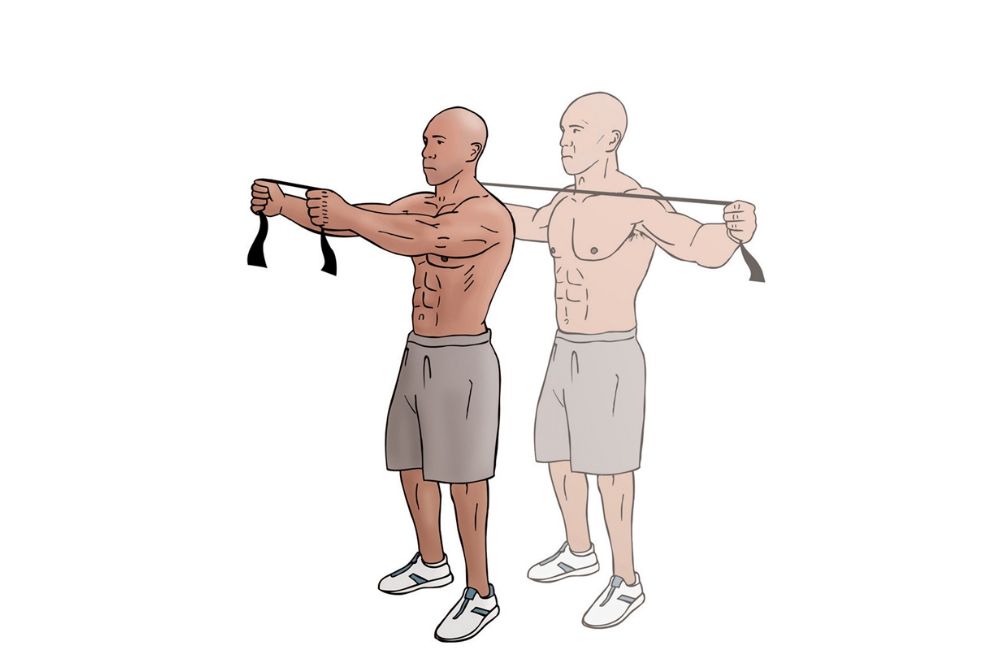
Standing horizontal abduction mimics the prone T exercise. However, this version of the movement tends to be more comfortable for most people, as it doesn’t require the exerciser to get down on the floor.
How to Perform:
- Start standing, with your feet roughly hip-width apart.
- Next, grasp a band with both hands.
- Raise the band up to shoulder height and pull the band apart, squeezing your shoulder blades together as you do so.
- Complete 10-12 reps per set, 3 sets per session, and 2-3 sessions per week.
9. Snow Angels on Wall
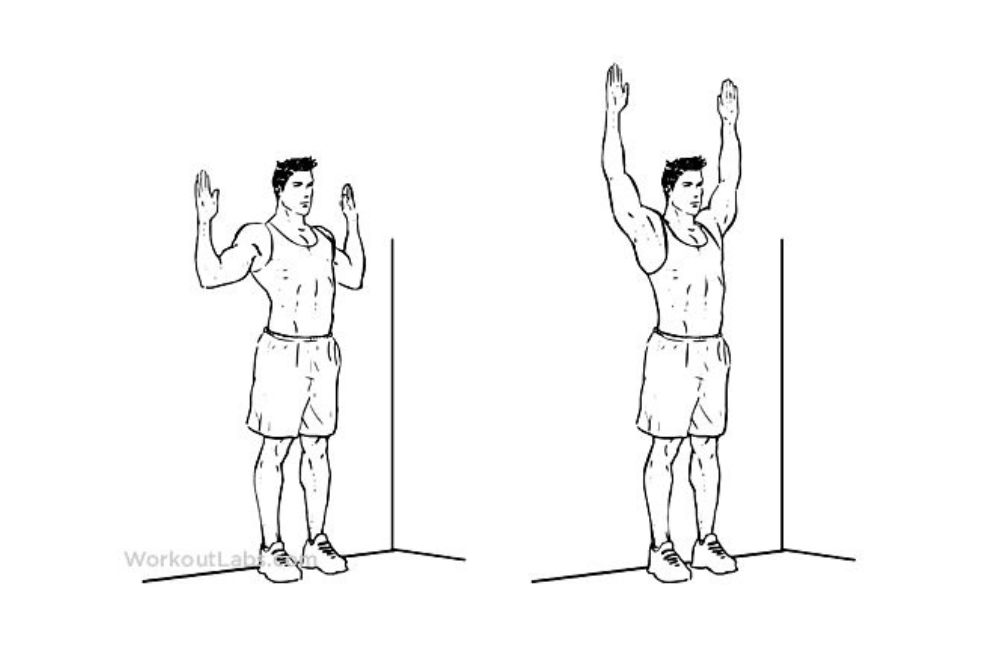
Last but not least, we have the snow angel exercise. Of all the exercises listed in this post, the snow angels on the wall are perhaps the most difficult.
This move requires incredible mobility and stability in the shoulder region, and few people can perform the move properly on their first try!
How to Perform:
- Start by standing with your back on the wall, ensuring that your heels, buttocks, shoulders, low back, and head are in contact with said wall.
- Next, place your elbows, forearms, and backs of hands on the wall, in a “W” shape.
- Maintaining this position, slide your arms up the wall, making sure that no part of your body loses contact with the wall surface.
- Then, return your arms to the starting position to complete the rep.
- Perform 10-12 reps per set, 3 sets per session, and 2-3 sessions per week.
10. Thread Needle Exercise
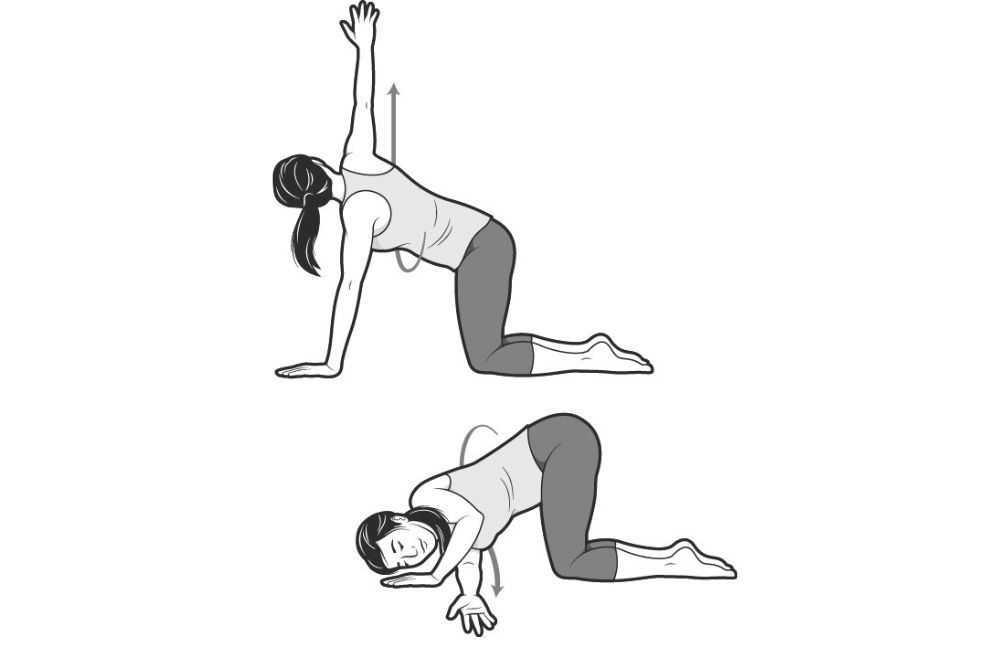
Thread-the-needle exercise stretches the sides and backs of your shoulders and midback. It’s a great shoulder stretch to ease any pain and tension you may have there. Check out more midback exercises here.
How to Perform:
- Get on all fours with your hands on a yoga mat and your knees hip-width apart. Adjust your hands so they are shoulder-width apart and directly under the shoulders.
- Your knees should be positioned directly under the hips. Slowly raise your right arm up toward the ceiling and tilt your neck up to follow the hand.
- Bring your arm down and reach under your chest. Continue until your right shoulder touches the mat and your right-hand passes the left side of your body.
- Follow the right arm with your head and have it rest on the mat as your right shoulder rests on the mat. The right side of your face should be faced down.
- Feel the stretch in your neck, shoulders, rhomboid, and back. Take a few deep breaths. Return to the starting position and switch sides.
The Bottom Line on Shoulder Mobility Exercises
Shoulder mobility is an often-neglected component of health. However, having strong, mobile shoulders is one of the best predictors of overall good health later in life.
If you are looking for ways to keep yourself independent and pain-free for years to come, start working this exercise regimen into your routine today!